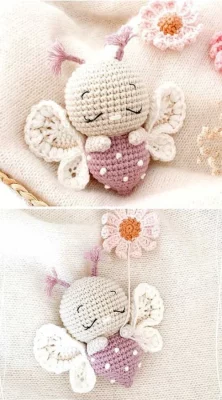
Amigurumi Cute Butterfly – Free Pattern

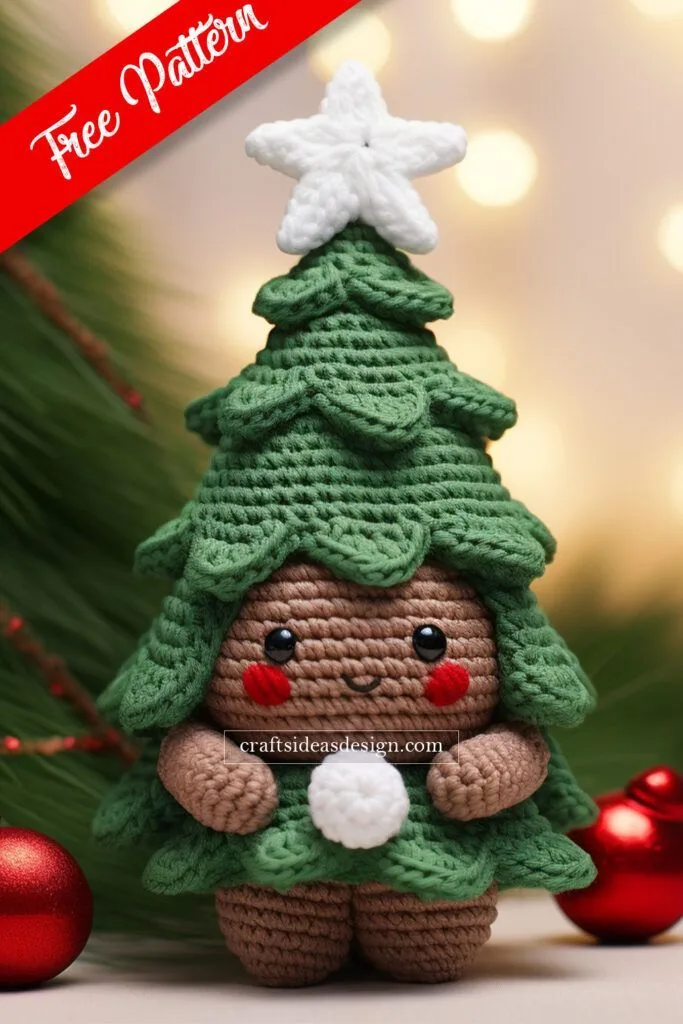
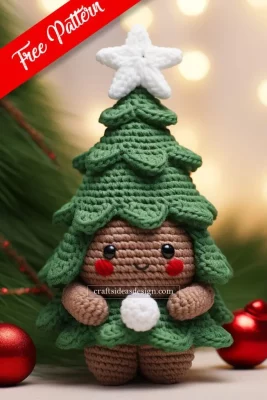
Creating a CUTE AMIGURUMI CHRISTMAS TREE – TUTORIAL is a delightful and festive way to bring holiday cheer into your home. This crochet project is perfect for beginners and advanced crafters alike, offering a fun and creative way to make handmade decorations. By following this tutorial, you will learn how to create an adorable amigurumi Christmas tree that can be used as a gift, ornament, or festive centerpiece.
The CUTE AMIGURUMI CHRISTMAS TREE – TUTORIAL involves simple crochet techniques, making it accessible to all skill levels. Whether you want to personalize it with different colors, add embellishments like beads or stars, or keep it classic with green and gold, this tutorial provides step-by-step guidance to ensure a successful project.
In this guide, we will cover the necessary materials, crocheting the base and tree layers, assembling the tree, and adding final decorative touches. Let’s get started and bring some handmade holiday joy into your home!
Before starting your CUTE AMIGURUMI CHRISTMAS TREE – TUTORIAL, it is essential to gather the right materials to ensure a smooth crafting experience.
Having all these materials ready before starting ensures a smooth and enjoyable crochet process. Choosing the right yarn enhances the appearance and durability of your amigurumi. Soft stuffing provides a firm but cuddly shape. Small decorative elements make each tree unique. Using a well-suited crochet hook ensures consistent stitch work. Keeping a tidy workspace can improve focus and organization.
The structure of the CUTE AMIGURUMI CHRISTMAS TREE – TUTORIAL starts with crocheting the base and tree layers to form a sturdy and visually appealing shape.
Consistently shaped layers create a visually appealing tree. The right stitch techniques enhance the tree’s texture. Light stuffing keeps the tree structured without making it too stiff. Keeping an even tension while crocheting ensures uniformity. A well-constructed base provides stability. Closing the top securely ensures long-lasting durability.
Once the main components are crocheted, it’s time to assemble and decorate the tree.
Proper assembly ensures a well-balanced amigurumi tree. Carefully placed decorations enhance its festive charm. A crocheted star topper adds a classic holiday touch. Stitching techniques can improve overall durability. Personal touches make each creation unique. Taking time for final adjustments ensures a polished look.
To keep your CUTE AMIGURUMI CHRISTMAS TREE – TUTORIAL looking great for years, follow these final steps and care instructions.
Proper care ensures the tree lasts for multiple holiday seasons. Checking for loose threads prevents unraveling. Storing correctly maintains the shape and color. Gentle cleaning keeps it looking fresh. Displaying creatively enhances holiday decor. Making extras spreads festive joy.
Q: How long does it take to crochet an amigurumi Christmas tree?
A: The time varies depending on skill level, but typically it takes 4-6 hours.
Q: Can I use different yarn types for this project?
A: Yes, but make sure the yarn is not too thick or too fine for best results.
Q: Is this project suitable for beginners?
A: Absolutely! The pattern uses basic stitches, making it beginner-friendly.
Q: How can I make my tree stand upright?
A: Ensure the base and trunk are sturdy, and stuff evenly for balance.
Q: Can I customize my tree with other decorations?
A: Yes! Add beads, buttons, ribbons, or embroidery to make it unique.
This CUTE AMIGURUMI CHRISTMAS TREE – TUTORIAL is a fantastic way to create festive decorations with a personal touch. By following these steps, you can craft a charming tree perfect for the holiday season. Whether making one for yourself or gifting it to loved ones, this handmade piece will bring joy and warmth.
What did you think of this tutorial? Leave your thoughts and suggestions in the comments, and happy crocheting!

